Sarab Part 2 Guide
Mid-chapter pressure spikes, tighter teamwork, and how to turn a coin-flip clear rate into a repeatable badge.
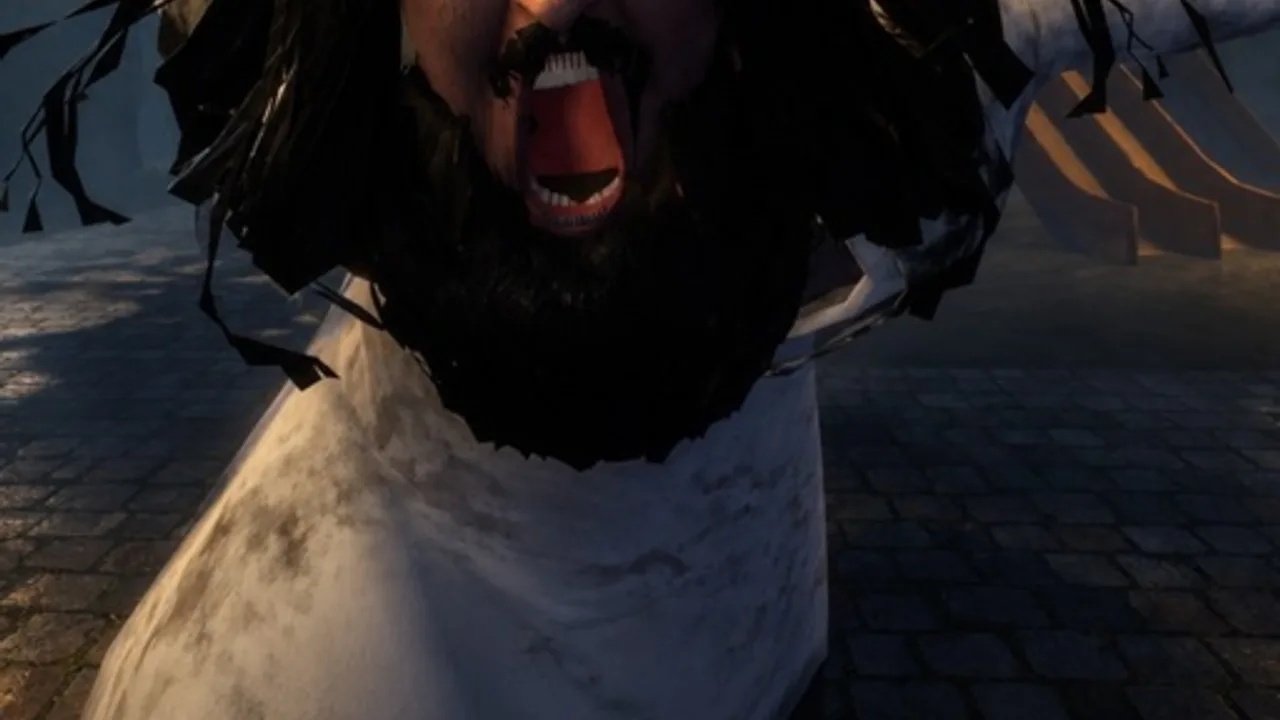
Part 2 at a glance
Part 2 is where Sarab stops being a generous onboarding chapter. Live badge stats from early October sit near ~370,000 awards with a win rate around ~53.5% — roughly half of Part 1’s clears. That drop is the design telling you mid-game chase pressure and puzzle friction matter more than lobby luck.
If Part 1 felt free, do not take that as proof you are ready. Stabilize the habits on How to Survive and confirm you can repeat Part 1 calmly before you burn evenings on Part 2 wipes.
Parent hub with the full rate table: Badges Guide.
What “mid-game friction” feels like
Without inventing undocumented boss names, Part 2 sessions community players describe share these traits:
- Longer gaps between safe resets — fewer free “learn the room” moments
- Pursuit windows that punish beam spam and empty stamina more consistently
- Objective chains that require returning items across riskier paths
- Stronger need for bilingual or translator workflows when notes stack up
- Higher cost to random splits inside ~25-player lobbies
You still explore, collect, unlock, and survive pressure spikes — the same loop from the Walkthrough — but mistakes compound faster.
Prep checklist before a Part 2 push
- Audio mix locked — headphones, SFX prioritized (Controls).
- Roles assigned — caller, reader, rear anchor.
- Meet points named — at least two hard landmarks from the Map Guide.
- Stamina policy agreed — walk known stretches; sprint only for peels and exposed crosses.
- Light policy agreed — on for reads/pit checks; off for static hides.
- Patch awareness — skim Updates the same day (badges ~3 Oct 2026; experience update stamp ~4 Oct 2026).
- Ego check — if Part 1 still feels messy, delay Part 2.
Skipping this list is how ~53% becomes your personal 20%.
Mid-chapter survival upgrades
Sound before loot, every time
When a new cue appears, stop interacting. Localization beats finishing a greedy prop grab. Call direction once (“left stairwell”), then move.
Break line of sight on purpose
Part 2 chases punish circular panic around the same crate. Pre-choose a hide and a peel route before you need them. Hide vs run rules stay on How to Survive.
Escort progression items
Key-like props turn into wipe magnets when the holder sprints alone. Middle-of-bubble escort, cover-first UI opens, reunite plan if contact breaks.
Re-learn audio on biome swaps
Outdoor mirage/desert-feeling spaces and interiors (including school-like rooms in some sessions) carry different ambient beds. Threat tells sit differently against each bed — reset your ears at transitions (Map).
Mute social hazards
Grief light-beams into closets, stolen objectives, and scream-over-cues teammates are real Part 2 bosses. Micro-squad peel; do not debate ethics mid-chase. Threat framing continues on Players / Threats.
Puzzle friction without spoilers
Part 2 is where players report feeling “stuck” even though the mechanic is simple:
- You have the item but forgot the door landmark
- You translated half a note and moved before finishing the instruction
- You opened a UI in the open and ate a free down
- You assumed a launch-week route survived a hotfix
Counterplay is boring and effective: breadcrumb, finish reads in cover, re-scout after patches, and refuse soft-lock pride. The Walkthrough stuck-point list still applies; Part 2 just charges more for each mistake.
Using the embedded video well
The mid-article embed is an Arabic Sarab horror intro-style session — useful for tension pacing and atmosphere when Part 2 starts to feel longer and meaner than Part 1. Watch for when creators stop looting because audio changed. Do not treat entertainment edits as a pixel-perfect route bible; props move.
For English lobby-to-chase orientation, keep using the gameplay embed on Getting Started. For opening-chapter team spacing, see Part 1.
Failure review template
After a Part 2 wipe, answer in one sentence each:
- Was the death audio-ignored, light-broadcast, stamina-empty, or soft-lock pride?
- Did we have a meet point?
- Did we escort the progression item?
- Did we check Updates if the route felt rewritten?
- Are we actually ready, or are we force-queuing for a badge screenshot?
Change one habit next run. Stacking five new rules guarantees you follow none.
When to stop pushing Part 2 tonight
Stop if:
- Your squad’s calls have collapsed into blame
- You are opening the Scripts Hub “just to see”
- Fatigue is inventing mirage mechanics that are really just tired eyes
- You cleared Part 1 cleanly earlier and are now throwing on tilt
Badges persist on the account. Composure does not. Come back after a break; Part 3’s ~9.7% win rate will not be kinder (Part 3).
Related pages
- Badges Hub — rates and order
- Part 1 Guide — opening foundation
- Part 3 Guide — late-game rarity
- Map Guide — landmarks and routing
- How to Survive — hide/run and stamina
- Tier List — priority rankings under pressure
- Updates — patch fog vs real changes
Part 2 is the honesty chapter. Beat it with process, then decide whether Part 3 is a goal or a spectator sport for now.
Frequently Asked Questions
Quick answers for Sarab codes, survival, and mirage horror basics.
Why is Part 2 much harder than Part 1?
Live win rates fall from ~98.7% on Part 1 to ~53.5% on Part 2. Mid-game chase and puzzle friction punish sloppy habits.
Should I attempt Part 2 solo?
Possible, but a duo/trio with a reader for Arabic text and a caller for audio is far more consistent.
What should I practice before Part 2?
Repeat clean Part 1 clears while drilling How to Survive light, stamina, and hide/run rules.
My Part 2 route stopped working after a patch — why?
Early viral maps move props and timing. Re-scout and check Updates instead of forcing launch-week memory.
When should I try Part 3?
Only after Part 2 feels repeatable and boring. Read Part 3 first — live clears sit near ~9.7%.