Sarab Part 3 Guide
Late content rarity, tighter resources, and how to attempt a full clear without throwing the run on one greedy peek.
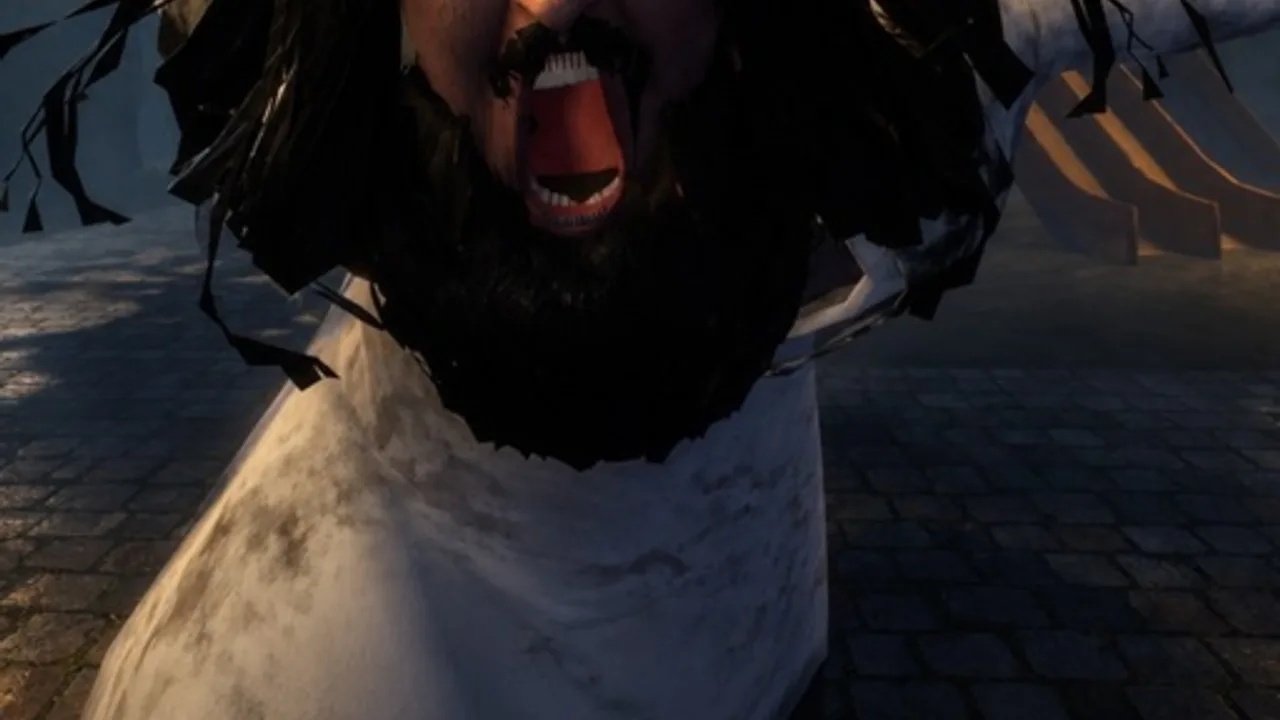
Part 3 at a glance
Part 3 is Sarab’s late badge — the rarity check. Early October live stats sit near ~59,300 awards with a win rate around ~9.7%. Compared with Part 1’s near-universal ~98.7% and Part 2’s coin-flip ~53.5%, Part 3 tells you most lobbies never finish the full arc.
That is intentional difficulty signaling, not a broken badge. Late Sarab content expects tighter resources, fewer second chances, and squads that already treat Part 2 as routine.
Parent hub: Badges Guide. Do not skip straight here from a lucky Part 1 toast.
Who should attempt Part 3
Attempt when most of these are true:
- You can clear Part 2 without panic-looting every prop
- Your duo/trio shares meet-point language from the Map Guide
- Audio callouts are short and obeyed
- Flashlight and stamina discipline survive mid-chase (How to Survive)
- You checked Updates the same day for hotfix fog
- You accept that one mistake can end a long session
If you are still arguing about basic hide vs run, stay on Part 2 and the Tier List.
What “late-game tightness” means in practice
Without inventing undocumented boss proper names or fake phase timers, late sessions players describe share these pressures:
- Less recovery margin — a bad chase leaves you with nowhere soft to reset
- Longer objective chains — more escorts across hostile space
- Harsher crowding costs — ~25-player chaos is no longer funny when one blocked door ends the run
- Higher information standards — half-translated notes and vibes-based routing fail more often
- Fatigue as a mechanic — thirty-plus minute attempts amplify tilted decisions
Play as if every open-hall UI and every empty-stamina peek is a vote to join the 90% who do not clear.
Full-clear habits (process over hype)
1. Pre-flight like a raid, not a meme lobby
Confirm roles, landmarks, light policy, and a bail condition (“we reset if calls collapse”). Join only the official experience.
2. Conserve before you flex
Late content punishes sightseeing sprints and lighthouse beams. Walk when safe; light when needed; holster when holding still.
3. Escort like the badge depends on it
Because it does. Progression holders stay centered. UI opens happen in cover. If contact breaks, meet-point first — not hero peeks.
4. Treat social threats as real bosses
Stolen objectives, closet light grief, and scream-over-audio randoms wipe Part 3 attempts. Micro-squad bubble; mute ruthlessly. Hazard classes: Players / Threats.
5. Re-scout after any “this used to work” moment
Mirage fantasy plus early October patches (badges ~3 Oct; experience update stamp ~4 Oct) means brittle pixel memory fails. Breadcrumb hard landmarks (Map); verify changes on Updates.
6. End conditions beat ego
If the squad is tilting, stop. The badge will still exist tomorrow. Injectors will not make Part 3 “fair” — they make bans likely (Scripts).
Using the full-clear style video
The embed mid-article is an Arabic full-clear / true-story style Sarab session — useful for seeing how long successful attempts actually feel and how creators narrate late pressure. Watch for resource discipline and regroup habits, not only the final celebration. Pair it with English fundamentals on Getting Started and mid-game upgrades on Part 2.
One video per page is the wiki rule; do not expect a second embed here.
Attempt blueprint
- Warm up with a clean Part 1 or quick survival drill — not a cold Part 3 queue after school/work tilt.
- Clear through mid-game with Part 2 standards already automatic.
- At the late threshold, restate meet points and stamina policy out loud.
- Push objective chains only while calls stay crisp.
- On down/wipe, run the failure template from Part 2 (audio / light / stamina / soft-lock / patch fog).
- On clear, confirm badge toast and profile entry (Badges).
- Write one note for your squad: which habit almost threw the run.
Why most lobbies fail (and why that is fine)
A ~9.7% win rate is not an insult. Viral horror lobbies mix tourists, content creators filming panic, and players who never read survival pages. You can be skilled and still fail to Part 3 on a given night because one random blocked a door. Measure yourself on repeatable process, not on a single screenshot.
If you need early stuck-point language without late spoilers, keep the Walkthrough open. If you need composure drills, stay on How to Survive.
Related pages
- Badges Hub — Part 1/2/3 rates and chase order
- Part 2 Guide — required mid-game foundation
- Part 1 Guide — opening habits worth keeping forever
- Map Guide — breadcrumbs and mirage routing
- Walkthrough — early loop still underlies late clears
- Updates — hotfix honesty
- Codes — still no substitute for clears
Part 3 is rare because composure is rare. Earn it with discipline, then flex the badge — not a script menu.
Frequently Asked Questions
Quick answers for Sarab codes, survival, and mirage horror basics.
What is the Sarab Part 3 clear rate?
Early October live figures sit near ~9.7% win rate with roughly ~59k awards — far rarer than Part 1 or Part 2.
Should beginners try Part 3 first for the badge?
Why do full servers feel worse in Part 3?
Late content has less recovery margin. Crowding, grief beams, and stolen objectives end long attempts — prefer a trusted micro-squad.
Can I use scripts to finish Part 3?
You should not. Injectors risk bans and malware. See Scripts and clear normally.
Where do I confirm the Part 3 badge after a clear?
Watch for the in-experience toast, then verify under Roblox profile badges. Details on Badges.